Write the Script First: How to Plan an AI Video Project Before You Generate a Single Frame
Plan the script, shot list and consent before you open a face swap or AI video tool. A writer's workflow for AI video projects that hold together.
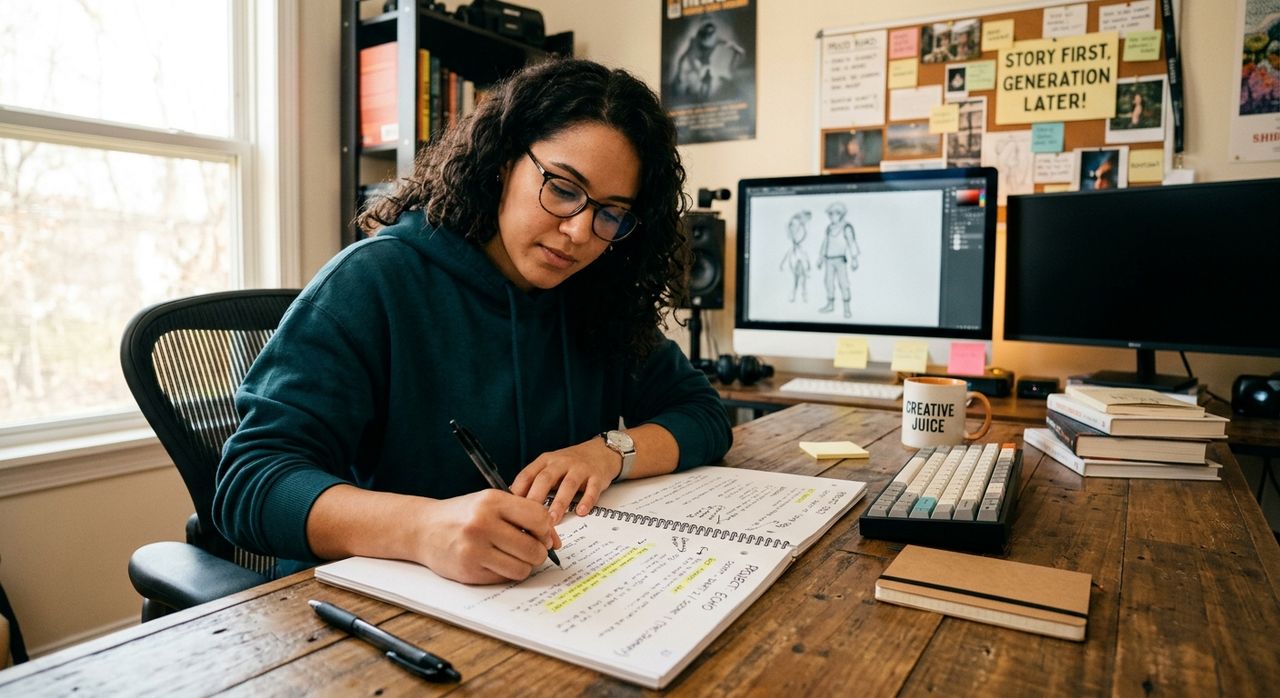
Most AI video projects fall apart before the first render. It's rarely the tools. It's that nobody decided what the clip was supposed to say. You upload a face, grab a random clip, hit swap, and get something that's technically impressive and completely pointless.
The fix is boring, and it works: write it down first. A short script, a shot list, and a note about whose face you're allowed to use. Ten minutes of planning saves an hour of re-rendering.
Here's a workflow that holds up for anything longer than a one-off meme.
Key points:
1. Decide the one thing your video says before you pick a tool. The tool follows the idea, not the other way round.
2. Write your shot list in ten-second lines. That's how most AI video models actually work.
3. Get consent for every real face, and keep that note right next to the script.
Why AI Video Needs a Script More Than Regular Video
With a camera, you can improvise. You film too much and find the story in the edit. AI video doesn't work like that. Every clip costs time, tokens or both, and each generation is a small gamble. If you don't know which shot you need, you'll generate twenty you don't.
Then there's length. Most text-to-video models stop at around ten seconds. So a two-minute piece isn't one generation. It's twelve shots that have to feel like one story. That's a writing problem before it's a video problem.
Think of the script as the brief you hand to yourself. It answers three questions:
- Who is this for? Your group chat, a client, a product page?
- What should they feel or know at the end? One sentence, not three.
- What has to stay the same in every shot? Same person, same setting, same light.
Step 1: Write a One-Paragraph Treatment
A treatment is a short, plain summary of the video. It's what a director pitches before anyone writes dialogue. Keep it to one paragraph.
Here's an example:
A 30-second clip for a friend's birthday. She's dropped into three famous movie scenes, each a bit sillier than the last. It ends on a title card with her name. Tone: affectionate, never mean.
That paragraph already tells you a lot. You need three target clips, a clear front-facing photo of her, and a title card. You also know what to cut: anything that tips from funny into embarrassing.
If you're writing lots of these for clients or a channel, keep them in one place. In Strut, each writing project keeps its rough notes, script drafts and reference material together, instead of scattering them across chat threads and phone memos.
Step 2: Turn the Treatment Into a Ten-Second Shot List
This is where the writing gets practical. Break the treatment into lines, one line per ten seconds of video. Each line should cover:
- What's on screen (subject, setting, action)
- Where the camera is and how it moves
- What carries over from the shot before
The last one matters most. The long video generator on AskAI.free builds each shot from the last frame of the previous one, so a film of up to five minutes plays as one continuous piece. Its planner writes one line per ten seconds, and you can edit any line before you generate. If you've already written your own shot list, you're editing a draft instead of starting cold.
A good shot line is specific:
| Weak shot line | Stronger shot line |
|---|---|
| Woman walks in city | Woman in a red coat walks toward camera on a wet street at dusk, camera slowly pulls back |
| Party scene | Same woman, same red coat, steps into a crowded kitchen party, camera follows at shoulder height |
| Ending | Camera rises above the party to a window, city lights, hold for three seconds |
Notice the red coat. Repeating one visual anchor across lines is the cheapest way to make separate generations feel like one film.
If you'd like help roughing this out, the outline and plot operations in Strut AI can take a premise and develop it into setup, escalation, turning points and resolution. You still decide what stays. That's the part no tool should do for you.
Step 3: Match Each Shot to the Right Tool
Once the shots are written, picking tools gets easy. Here's how AskAI.free's video and image tools line up with common script needs.
| What the script calls for | Tool to reach for | Worth knowing |
|---|---|---|
| A real person's face in an existing clip | Face Swap Video | MP4, MOV or AVI; up to 20 seconds free, 60 on Pro |
| A looping reaction or meme moment | GIF face swap | Keeps the original timing and loop settings |
| A costume or outfit change on a still | AI Clothes Changer | Face, pose, background and lighting stay as shot |
| A still for a title card or thumbnail | photo face swap | Handy for testing your source face first |
| Trimming, titles, music and captions | AI Video Editor | Multitrack timeline in the browser |
A tip that saves re-renders: run the photo face swap first, using the same source image you plan to use for video. If the still looks off, the video will too. Fix the source photo before you spend frames on it.
Step 4: Write Down Your Consent and Source Notes
This is the step people skip. It's also the one that matters most once a video leaves your phone.
Both the video and GIF face swap tools ask you to confirm you have consent to use any face you upload, and that you'll use the result lawfully. Treat that checkbox as a reminder, not a formality. For anything you publish, keep a short note with your script:
- Whose face is used, and when they agreed
- Where each target clip came from, and if you have the right to use it
- What the video is for (private joke, client work, public post)
It takes two minutes. If a question ever comes up ("did she actually say yes to this?"), the answer sits right next to the script instead of buried in an old text thread.
Keep outfit changes respectful too. The clothes changer is built for trying outfits on a photo of yourself, one person per image, and it discards your uploads after rendering. Use it the way it's meant to be used.
Step 5: Edit Against the Script, Not Your Gut
When the clips come back, it's tempting to keep whatever looks coolest. Go back to your treatment instead. Does this shot help the one thing the video is trying to say? If not, cut it, however good the swap looks.
A quick review pass:
- Watch the full cut once without stopping.
- Note any shot where the face, outfit or lighting jumps.
- Check that the ending lands on the feeling you wrote down in step 1.
- Add captions and the title card last.
If something jumps, go back to that shot line and tighten the visual anchor. Rewriting a line is quicker than re-rendering blind.
A Worked Example: A 60-Second Product Explainer
Say you're making a short explainer for a small clothing brand. The founder wants to appear in it and show three outfits.
- Treatment: "The founder walks through her studio and shows three looks from the autumn line. Warm, relaxed, 60 seconds."
- Shot list: six lines, ten seconds each, same studio, same window light, founder in every shot.
- Tools: the long video generator for the walk-through, the clothes changer to preview the three outfits on stills of the founder, and the video editor for captions and the logo.
- Consent note: the founder's written OK, saved with the script. Garment photos are the brand's own product shots.
Nothing in that plan is complicated. It just exists before the first render, which is the whole point.
Common Mistakes to Avoid
- Starting with the tool. You end up making what the tool is good at, not what you needed.
- No visual anchor. Without a repeated detail, separate shots look like separate videos.
- Weak source faces. A blurry or side-on photo gives you a blurry, side-on result.
- Skipping the consent note. Easy to forget, hard to fix later.
- Editing by vibes. If you never wrote down the goal, you can't tell whether a cut serves it.
The Short Version
Write the treatment, then a ten-second shot list, then pick tools shot by shot. Keep a consent note next to the script. AI video tools do the heavy lifting on faces, outfits and motion, but the story still has to come from you, and it's much easier to find on paper than in a render queue.
Write your next long piece in Strut
Keep rough notes, sources and drafts in one project, with AI that works on the passage you select rather than replacing your voice.